

An email account in cPanel refers to an electronic mailbox associated with your domain that allows you to send, receive, and store emails. cPanel is a web-based control panel often provided by web hosting companies to manage various aspects of your hosting account, including email services.
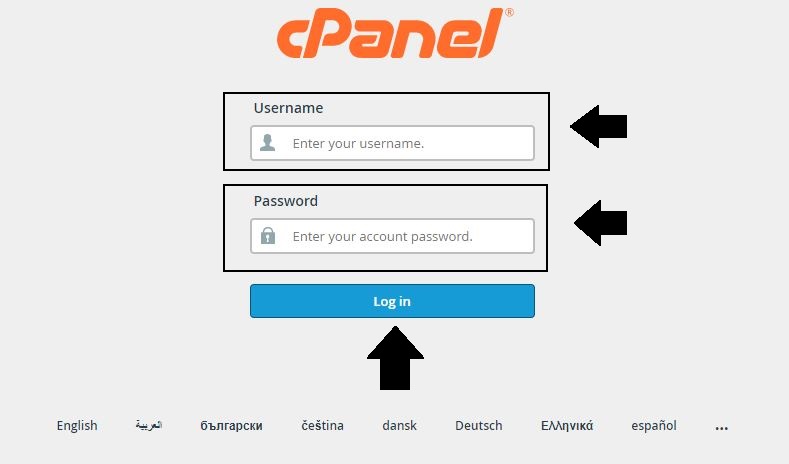
1. Login to cPanel:
- Open your web browser.
- You can login through the URL: https://om.genxwhosting.com:2083 or https://yourdomain.com:2083. in the address bar.
- Enter your cPanel username and password.
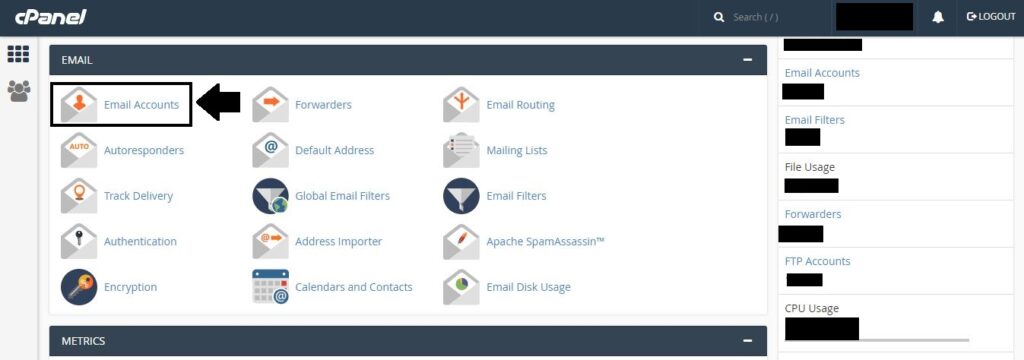
2. Create an Email Account
- In the Email section, find and click on “Email Accounts”.
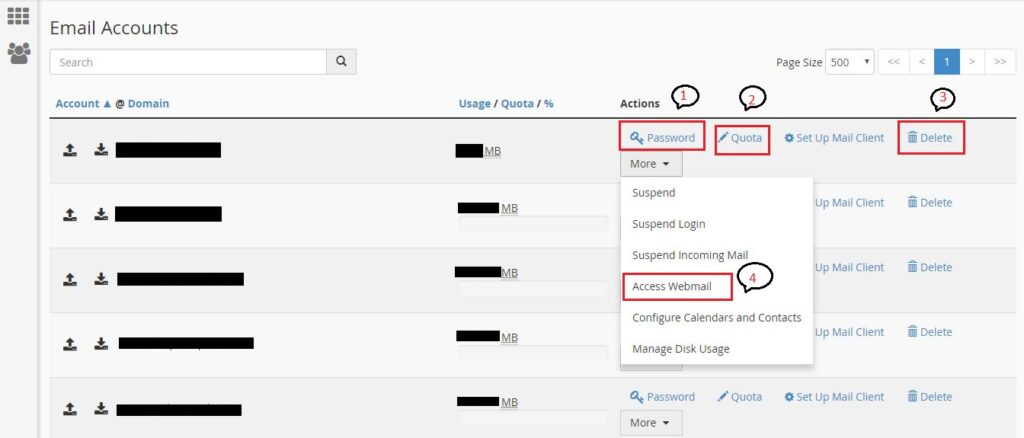
- Access webmail or configure email clients.
- Set up email forwarding and autoresponders.
3. Fill in Account Details:
- Choose a username for your email account. This will be the part before the “@” symbol, (e.g.”abc@example.com“).
- Select the domain for your email address from the drop-down menu.
- Set a protected password for the email account.

4. Configure Additional Settings (Optional):
- Some cPanel setups may provide additional options such as mailbox quota (storage limit), spam filters, and more. Change these settings according to your tendencies
5. Create the Account:
- Once you’ve filled in the necessary information, click on the “Create Account” or a similar button to create the email account.
6. Accessing Email:
- After creating the email account, you can access your email through webmail (usually accessible via
http://yourdomain.com/webmail), or you can set up an email client (like Outlook, Thunderbird, or your mobile device) using the provided configuration details.
