
Control Panel cPanel.
cPanel is like a remote control for your website’s computer. It helps you do lots of important things, like making email accounts, handling your website, domains, and databases. Not sure how to get into your cPanel?Just follow these easy steps.
Search for Domain/Hosting Visit Now :- https://genxwhosting.com
1.Click “Login” at the top right corner of the website to go to the client login page.

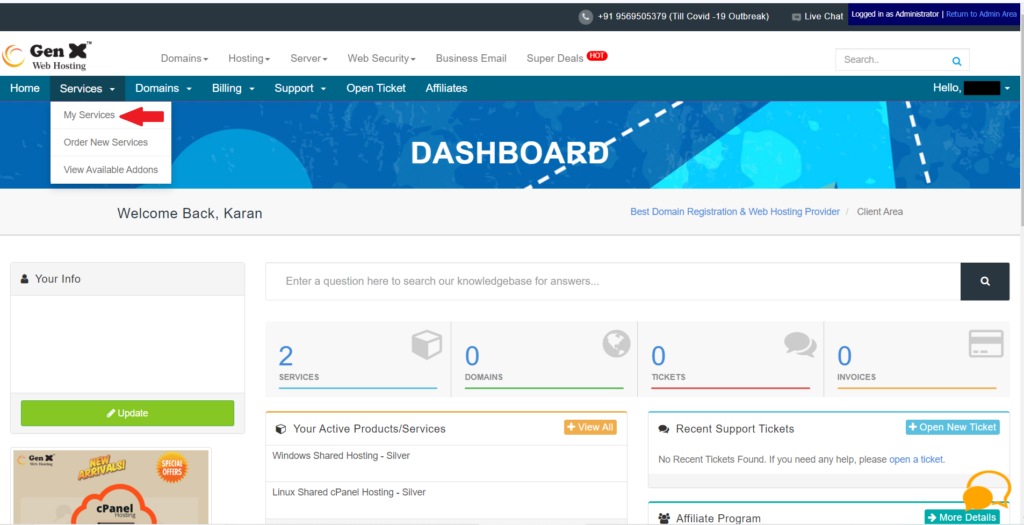
2.On the homepage, click “Services”, then choose ‘My Services’.
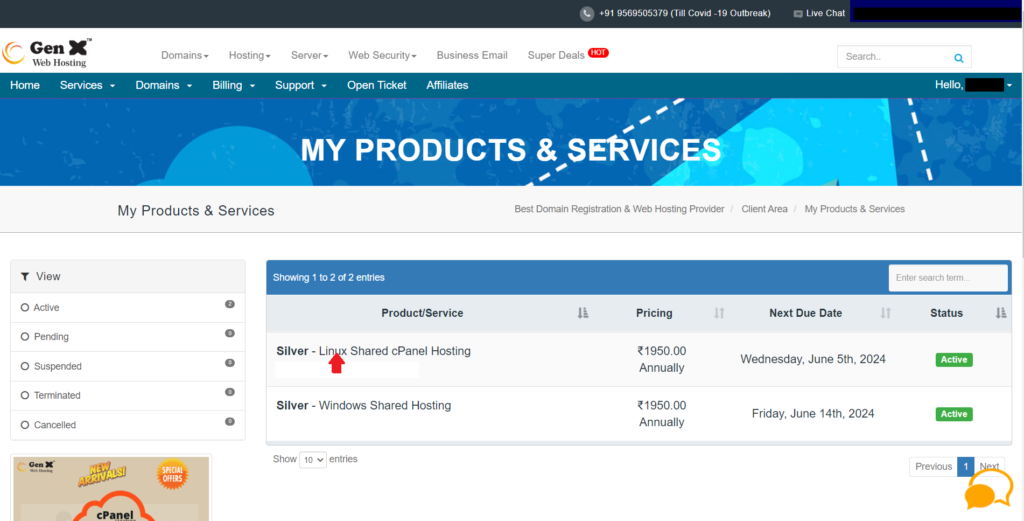
3. Select the “Item/Services” you need to make due, then “click on” it.
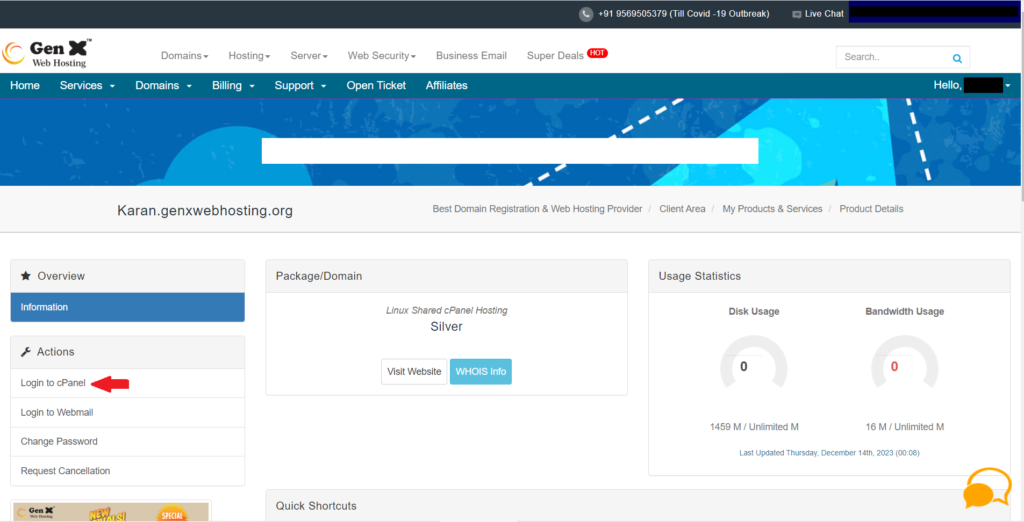
4.On the top left, click “Login to cPanel”.
How is best for blogsite.
cPanel is perfect for blogs site because it makes starting and running a blog really easy. It helps you set up your blog fast and manage everything without needing to be a tech whiz. Plus, it keeps your blog safe and working smoothly.
Certainly! Here are the points, simplified :
- Easy Start: cPanel helps you start your blog super easily with quick setups for popular blogging tools like WordPress.
- Simple to Use: It’s like a really easy dashboard where you can manage your blog, content, and emails without needing tech skills.
- Keep Things Safe: It keeps your blog safe from online dangers with special protections like SSL certificates.
- No Tech Stress: You can see how your blog is doing without any tech headaches, and it helps you back up your blog in case something goes wrong.
- Email Help: It even helps you create professional email addresses connected to your blog’s name.
Basically, cPanel makes blogging simpler, safer, and more manageable!
Want to get your blog online?
After Login a cPanel, These steps will show you how to upload your blog’s files hassle-free.
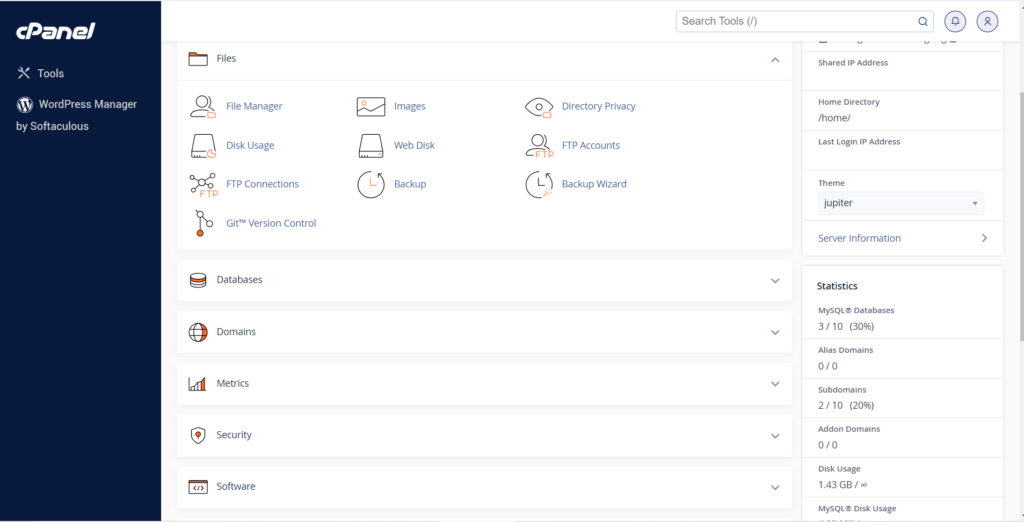
1.Login to cPanel, you will see the “Dashboard” of cPanel.
2.Click on “File Manager”. ‘File manager’ is the file management system in your website.
3. Publish your site through Document Director. In the document director, look for “public_html” on the left sidebar of the record supervisor.
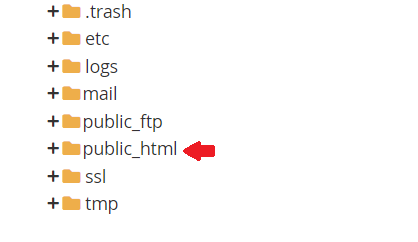
4. Upload the index.html and other source files that you desire to public_html.
5. When the transfer is finished, click on the connection Back to/home/client/public_html. You will currently see your transferred document in your Record Administrator screen
6. Repeat step 4 if you have more than one source file.
7. Hooray! Your website is now live!
Also Exp. This Describe cPanel. Cons and Benefits +How to Apply It ?